Greetings, fellow earthling
Welcome
to the
creative
world
of
Seth Sandler
Hi, I'm Seth — I think.
I'm an aspiring inspirer and happiness deliverer in training. During the day, I'm an interactive designer, developer and consultant, but enjoy spending time learning about leadership, organization, and user experience. I'm a permanent student of all things.
People tell me I'm most known for creating the Sparkon Network, the Multitouch Mini (MTmini), Audiotouch, being co-founder and developer of Community Core Vision (CCV/tbeta), NUIGroup.
As a creative, I think it's a rule that I'm not allowed to have a standard biography. However, if I did, it'd probably sound something like:
Seth Sandler is a musician, educator, researcher, developer, tinkerer and artist. He has a degree in Interdisciplinary Computing and the Arts with an emphasis in Music from the University of California, San Diego. His background involves both music and art and he often focuses on how they relate. Seth has taught music and leadership at High Schools throughout the Southern California area and is currently pursuing research and development in the area of natural user and multi-touch interfaces.
I know...
- Languages
- PHP
- HTML
- CSS
- Javascript
- AS2 / AS3
- C++
- Languages
- PHP
- HTML
- CSS
- Javascript
- AS2 / AS3
- C++
- Applications
- Photoshop
- Illustrator
- PureData
- Flash / FlashBuilder
- SVN / GIT
- Redmine
- Finale
- Frameworks
- Drupal
- Wordpress
- jQuery
- openCV
- openFrameworks
- Processing
- TUIO
Portfolio


IconDrop
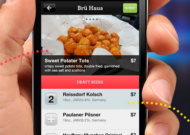
Buzzed

Pirate or Ninja

FEED iOS App

Crimson Cadets iOS App

NodeBeat: Generative Music Sequencer

Multi-touch Biggie

Sparkon Network
TEDxSanDiego Presentation
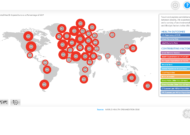
GE Healthcare @ RSNA 2010
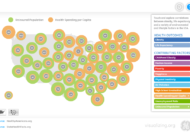
GE @ TEDMED: Visualizing Health

Multi-touch Hand Scanners
ABC Extreme Home Makeover Mirror

Interactive Multi-touch Wave Table

Pharmaceutical Mirror and KOL

Aéropostale Interactive Mirror

Wonka Imaginator

Recombinant Media Labs 360 Cinema

Wonkavision Interactive Mirror

Community Core Vision (CCV)

Multi-touch Mini

Squirrel Mobile Pollution Monitors
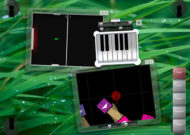
Audiotouch Multi-touch Enviornment
