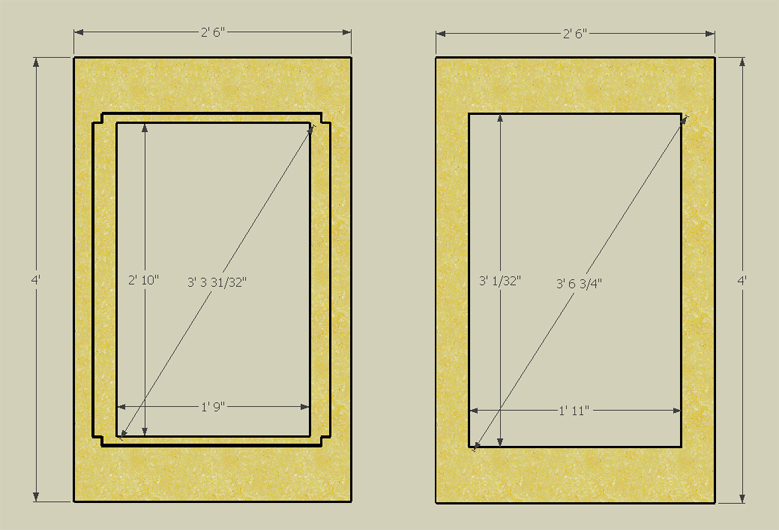
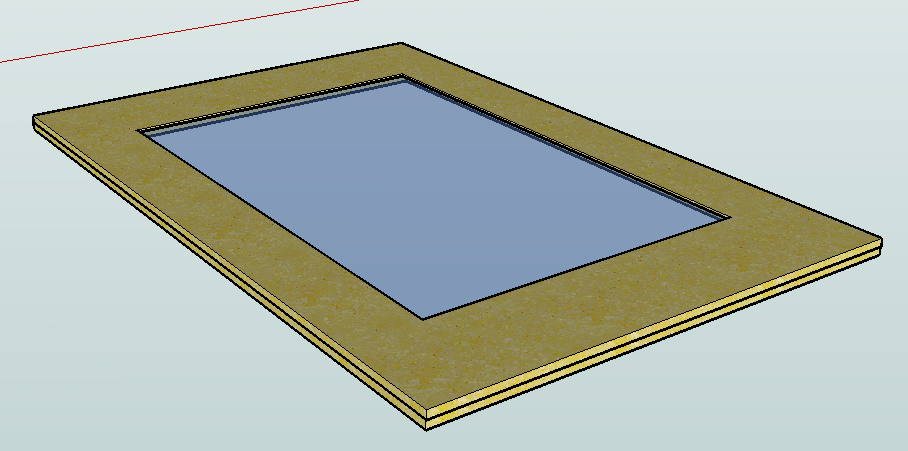
From the Google sketchup file I created, I measured and fabricated the top frame that will hold the LEDs, acrylic, silicone (compliant surface), and projection layer. The top frame consists of two pieces; the top piece, which will fit the acrylic (in the center), along with the silicone rubber and projection material on top, and also the infrared LEDs alongside the acrylic and the bottom piece that will screw into the top piece and rest on top of the final box.

Top piece (left) and bottom piece (right)

View of the top and bottom pieces (with acrylic and LEDs sandwiched in between).
I bought two pieces of 4 foot x 8 foot x 1/2 inch thick hardboard at home depot for $15. I had them cut it to the right height and width to make things simple. I then cut out the center of each board to the size needed. For the top piece I routed out around the edge of the center where the acrylic would lay. Then I routed the horizontal sides farther out so the LEDs could fit inside the frame. I routed out a little more than 1/4inch of depth so that the acrylic would fit nicely and also so that the LEDs would have room to fit also.

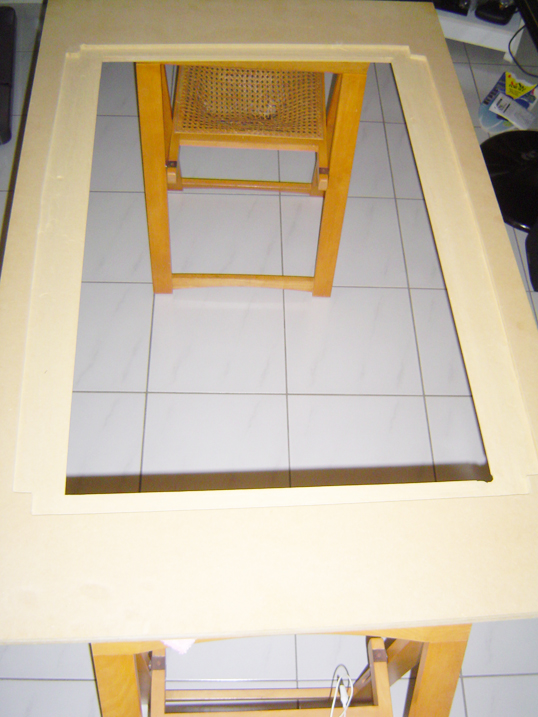
Here’s the top piece laying upside down. It matches the sketchup pretty well.

Here you can see how the acrylic (and silicone) fit into the inner routed part and how the LEDs will eventually lay.
For the bottom piece, I cut the center out a little wider than the top piece. I did this to ensure the camera will be able to see the whole surface and also ensure the the top surface wasn’t obstructed by the bottom piece.

Here is the bottom piece. It looks pretty much like the top piece without the routed parts.
Once the LEDs are all soldered together and ready to be mounted in place. Both the top and bottom pieces will screw into each other creating a single top frame (like the second image below). There is about 1/4 inch from the top piece to the acrylic which seems to be a nice distance from frame to surface.

Here’s the top piece (top view) with the acrylic with tracing paper on top and the bottom piece underneath.