2,652 views 7 comments

New application: Audioshape Sequencer

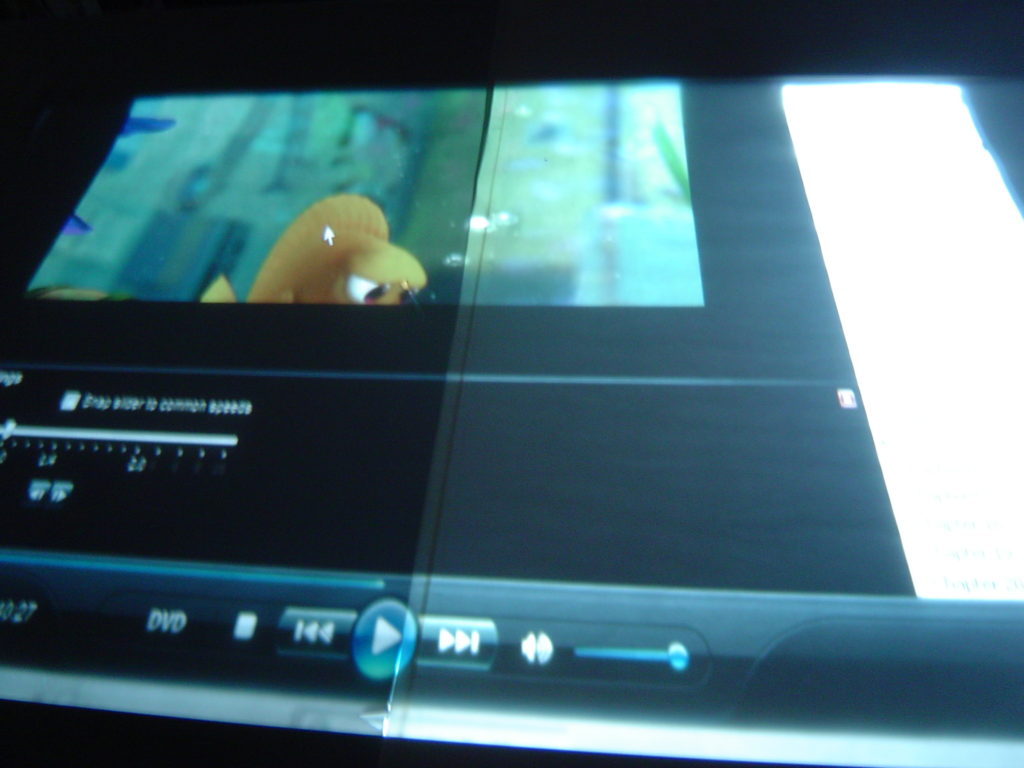
Audioshape Sequencer is modeled after Tangible Sequencer and originally inspired by Nicolas Clavaud.This application works with a mouse and/or multitouch table (touchlib/tuio simulator or other TUIO program).
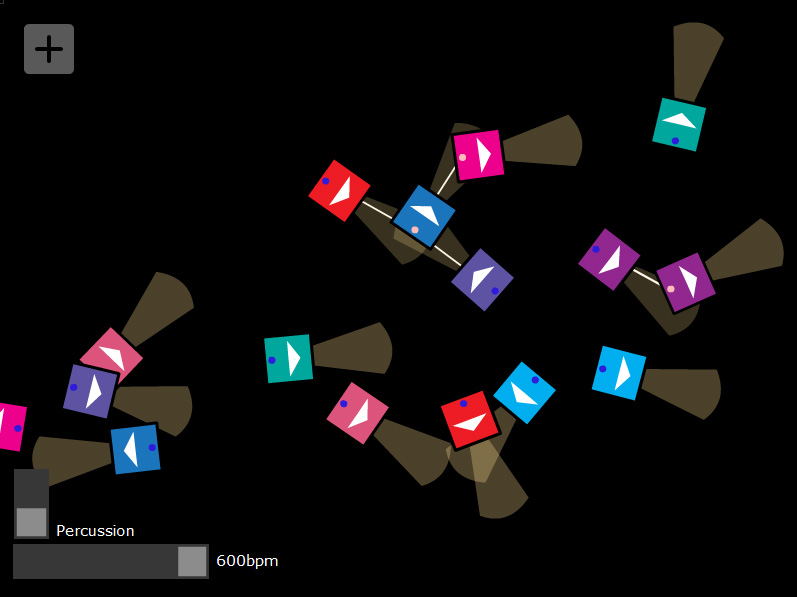
There are three main things to know about the program.

  1. There is the shape (square),
  2. signal (transparent orange shape),
  3. and sensor (Blue dot on square. Pink when activated).
6,603 views 5 comments

Projector Latency

Latency is a time delay between the moment something is initiated, and the moment one of its effects begins or becomes detectable. When it comes to projectors, latency refers to the time difference between the computer screen and projection from the projector. There will always be some latency (time difference) between the source image (computer) and the displayed image (projector).

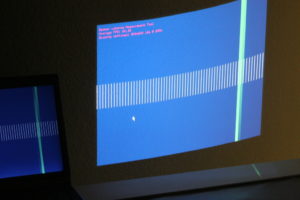
Laurence Muller has a Beamer Latency Measurement Tool v0.2 that will measure the latency of the projector. Ideally anything under 20ms is really good. For multitouch, if the latency of the projector is high, there will be visible lag between finger movement of objects and the projection of these objects.
1,464 views 2 comments

Video featuring more multitouch software…

Here’s another video of more software running on the table. This includes “smoke”, “ripples”, “artgen”, “photo”” and my own applications “multiKey” and “MusicalSquares.”


[youtube=http://www.youtube.com/watch?v=cM3wM61PCmc]

1,560 views 0 comments

My first videos…

3,743 views 1 comments

Full Multitouch Table (without sides) Picture

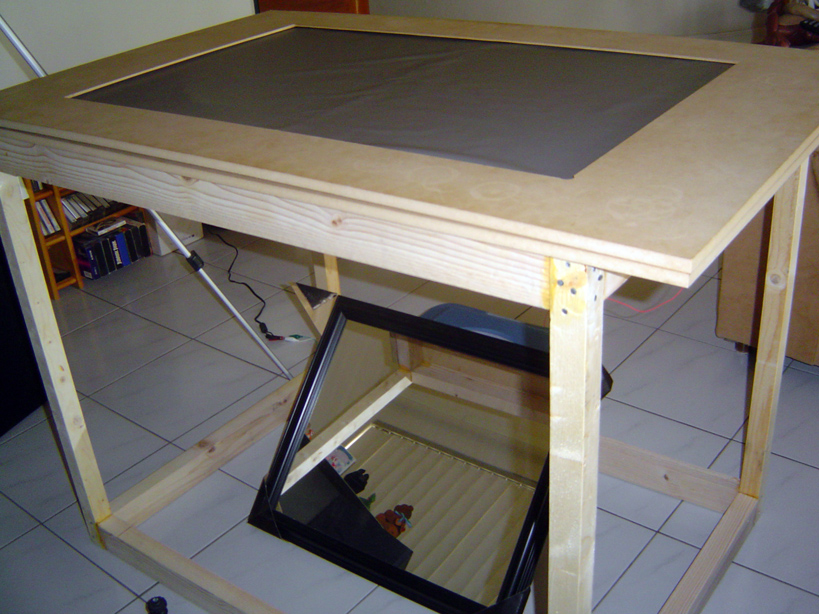
Current progress. Side walls are ready, but not attached yet.

10,524 views 11 comments

Projection Screen tests…

I took some pictures of the projector projecting on 3 different types of materials. I’m using a Casio XJ-S30 Projector which has 2000 lumens and 1800:1 contrast.


The following images consist of Rosco Grey Projection Screen (left), tracing paper (middle), and Rosco Black Projection Screen (right).

6,847 views 3 comments

Rosco Projection Screen

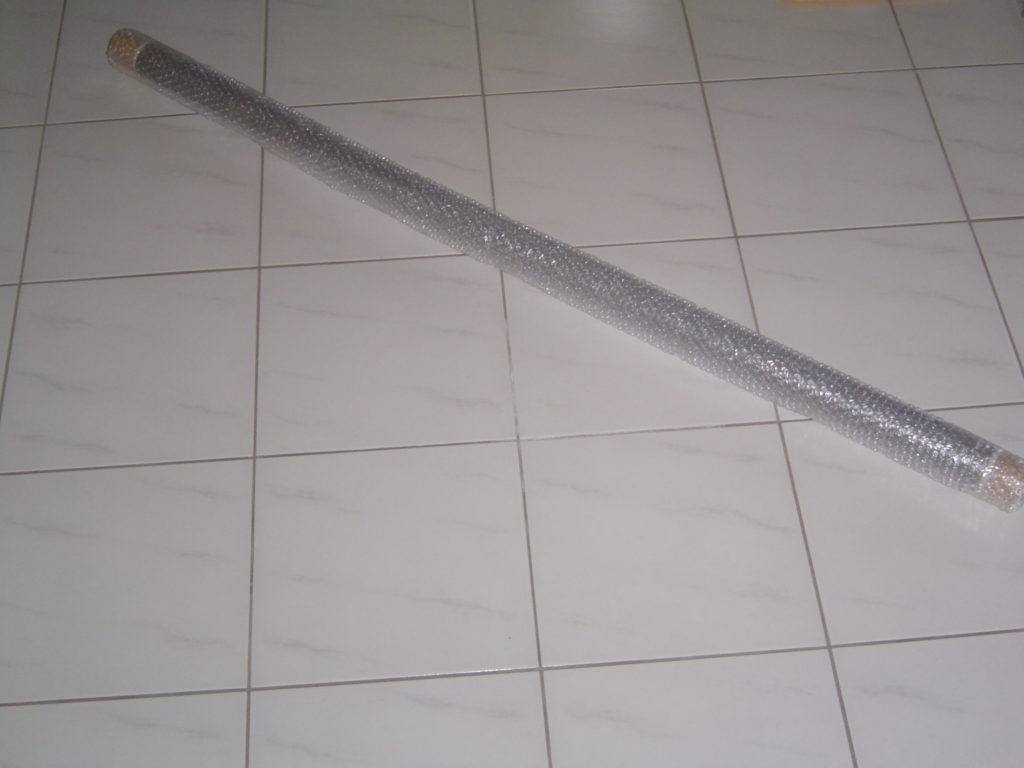
Rosco Projection screen is an inexpensive projection screen that seems to give pretty good results. There’s a few places online you can buy it. I ended up purchasing it from rosebrand.com. All places sell by the yard and the the minimum size is 55″ by 1 yard. The price is $15 per yard at 55″ width. I ended up buying both the Rosco Black and Rosco Grey to see which would work best with my setup.
5,265 views 7 comments

Wiring the LEDs for FTIR

I contemplated making my own PCB boards for the LEDs, but after doing some searching I found some boards online that would be more cost effective and work better than making my own boards. I decided to buy the following board from futurlec.com It’s possible to get 4 individual strips from each board for making individual LED PCBs. I needed a total of 10 strips for the two sides of my acrylic so I purchased 3 boards for $9.50. The strips are good because they will allow for 4-8 LEDs per strip. I chose to do 5 LEDs with a 1ohm resistor per strip (@ 7.5v), making a total of 25 LEDs per side of my acrylic.

The LEDs I’m

7,856 views 3 comments

Building the Table Frame

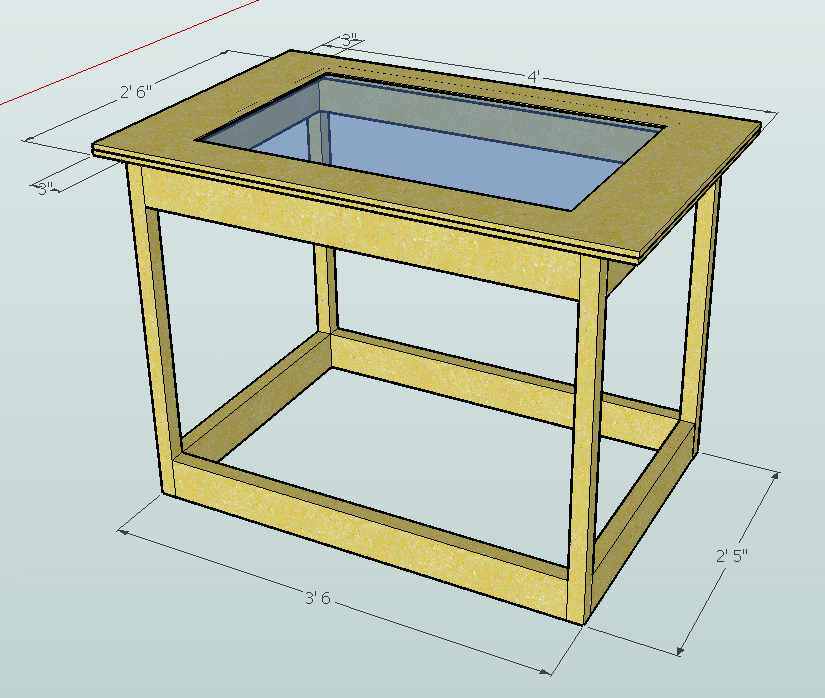
I went to home depot and picked out some wood that would be good enough for the inside framing of the table. I tried to get something light weight and sturdy. The main reasons for the frame is to keep the table sturdy and also make it so the walls of the table will be square, flush, and have something to screw into. I measured out all the pieces in google sketchup and then had someone at home depot cut the pieces to size.

5,234 views 13 comments

Building the Top Frame

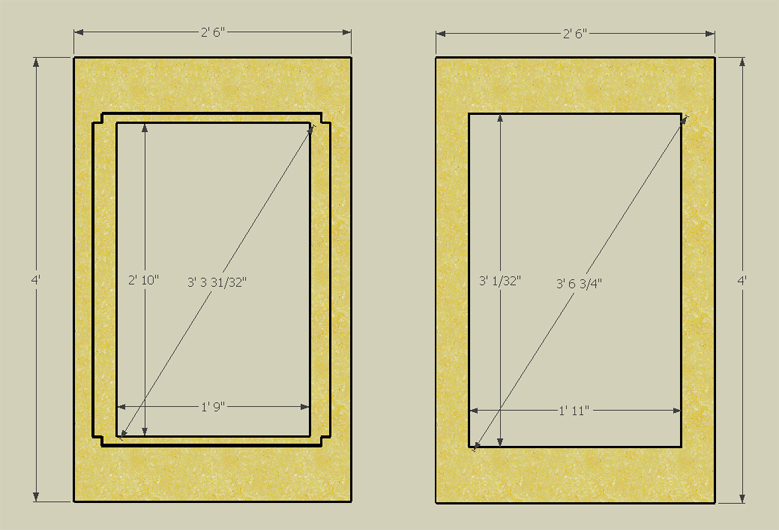
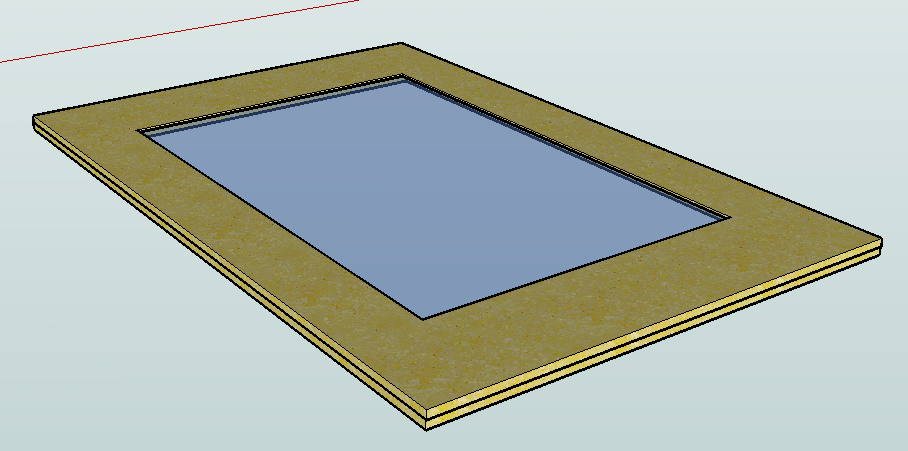
From the Google sketchup file I created, I measured and fabricated the top frame that will hold the LEDs, acrylic, silicone (compliant surface), and projection layer. The top frame consists of two pieces; the top piece, which will fit the acrylic (in the center), along with the silicone rubber and projection material on top, and also the infrared LEDs alongside the acrylic and the bottom piece that will screw into the top piece and rest on top of the final box.

Top piece (left) and bottom piece (right)

View of the top and bottom pieces (with acrylic and LEDs sandwiched in between).

I bought two pieces of 4 foot x 8 foot x 1/2 inch thick hardboard at home depot

-->